At Harrell Design + Build, our slogan is one we take to heart: We never forget it’s your home®.
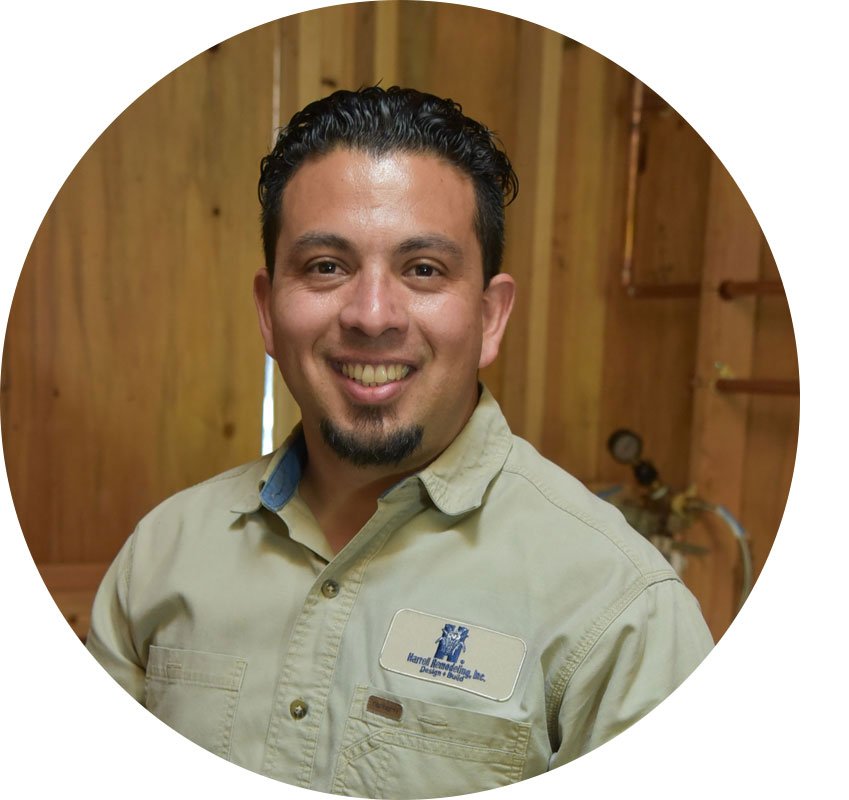
Harrell Site Manager, Mario Rivera, takes these six words very seriously each time he begins a new project.
“The very first thing we do is to make sure that our client’s home is properly protected. I try to talk in detail with every homeowner, letting them know exactly how we will protect their property. In the back of my mind, I always consider “What if” scenarios. By installing protective materials, my team works to minimize these possibilities.”
Installing and instituting protective measures is mutually beneficial. It safeguards the health and safety of both the homeowners and Harrell workers as well as defends against potential damage during a remodel. The on-site Harrell Team focuses on a number of areas within a home, each of which are dependent upon the project’s duration, scope, and exact location on the job site.
CARPETS & RUGS
For short duration projects, typically those under a month, carpet tape is used to shield most carpeting and large area rugs. This plastic material has an adhesive-type backing, which allows it to adhere to the flooring, providing a barrier against dirt and damage and a non-slip upper surface. (This tape shouldn’t be used on wool carpets, as it will pull out the strands.)
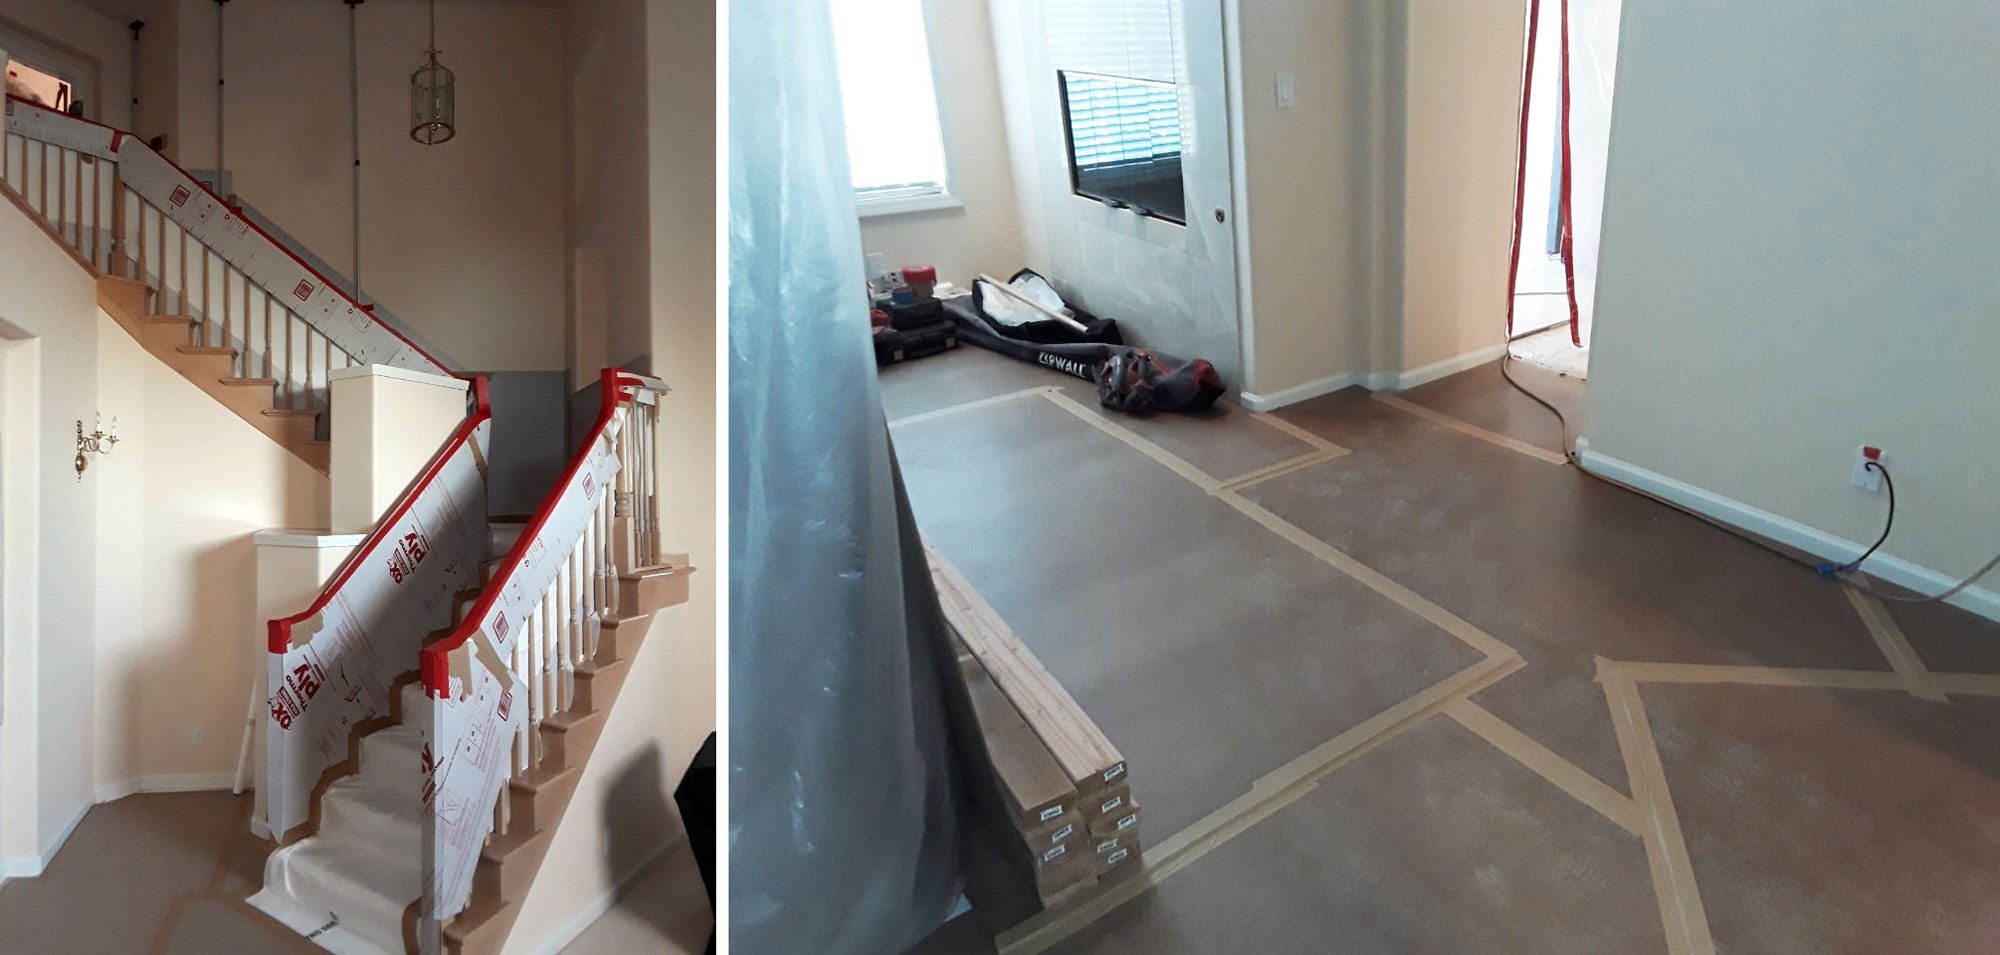
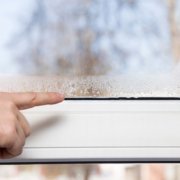
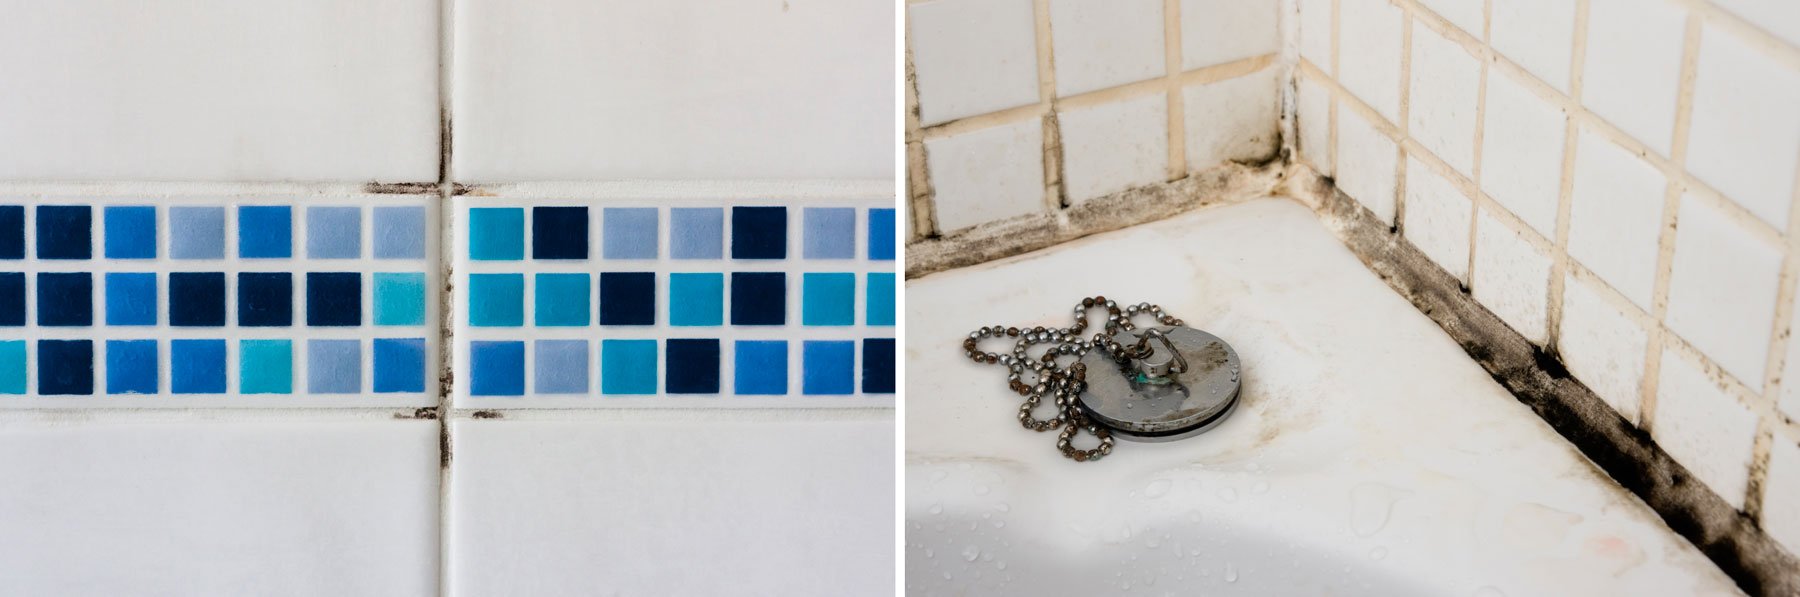
When a home remodeling project exceeds a month, more substantial measures are employed. This includes placing a paper (not plastic) under-layer barrier on top of the carpet to protect from moisture and possible mold build-up. This is followed by thick cardboard and thin wood or Masonite on top. This method offers multiple levels of protection that will withstand the daily rigors of a home remodel, including ladders scaffolding, and rough materials.
For carpeted stairs, a sturdy plastic non-slip membrane is applied. If the use of carpet tape is not possible, we will apply a product called Eco-Runner. This material is taped securely to the railing and baseboard. The angular nature of stairs requires the Eco-Runner material to be inspected frequently to ensure it remains intact, secured, and at peak protective performance. Railings and balusters also are swathed in a protective plastic under layer and adhered with a foam-padded tape. If necessary, thick rolls of cardboard can be shaped to protect the balusters to guard against heavier traffic.
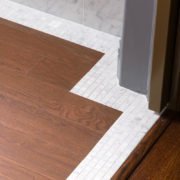
HARDWOOD, TILE, LINOLEUM
Eco-Runner is a fantastic material for each of these types of flooring for short-term projects. For remodels over 30 days, durable plywood and cardboard are layered on top of the plastic runner to ward off scratches, dings, or other damage to the flooring beneath.
“Most flooring is very unique and if harmed, is often challenging to repair. Applying a variety of materials to guard against damage is well worth it,” explains Mario.
WALLS
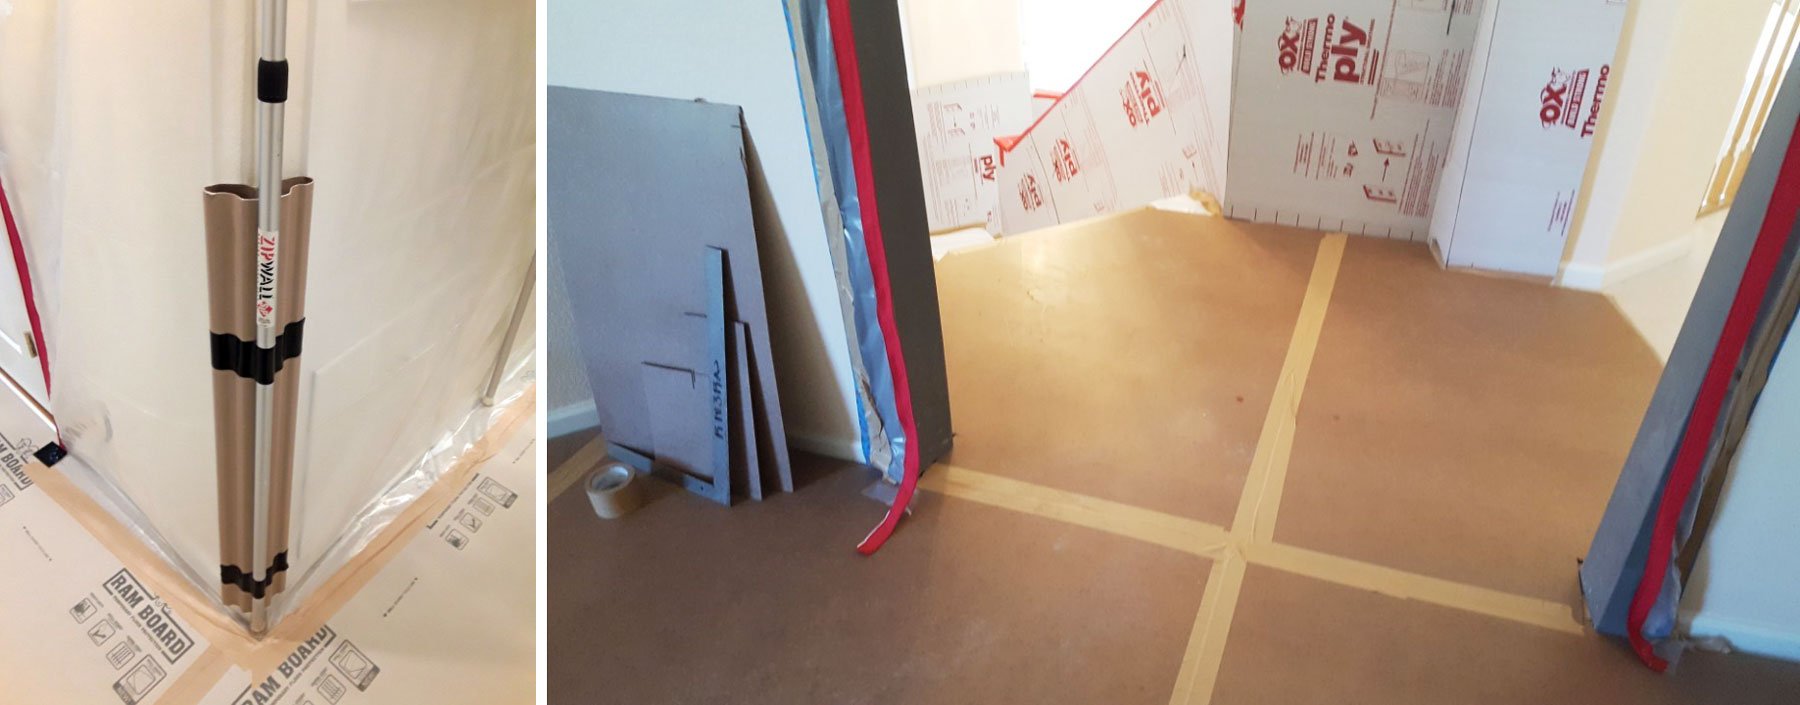
Though drywall is easier to repair than hardwood or tile should it get damaged, that doesn’t deter Harrell Design + Build from employing cautionary measures. Often used as a primary interior artery for workers and materials, hallways are wrapped floor to ceiling in heavy-duty plastic using a zip wall dust barrier system, which minimizes denting as well as keeps dust from spreading. Zippered doorways allow access into closets, bed and bathrooms. To further inhibit damage to walls, 4 foot by 8 foot spans of thick cardboard called thermo-ply are leaned against high traffic areas, especially at corners.
DOOR JAMS
Protecting door jams, especially in high traffic areas, is a necessity and there are materials made exclusively for this purpose. The Harrell Team uses a plastic and cardboard C-shaped material that fits perfectly over the trim, offering instant defense against dings.
DUCTING & LIGHTING
Cold air exchanges can’t be covered, as they are necessary for your furnace to run properly so at the end of each project, air filters are replaced. Floor and wall heating grills in active work areas are covered to keep dust at bay.
For lighting that isn’t a heat source, such as LEDs, plastic can be applied. Since dust can impede the functionality of smoke detectors, they are either covered or replaced once the project is completed.
FURNISHINGS
Says Mario, “Though we always recommend moving as much furniture as possible out of the active work area, sometimes that isn’t realistic. When this happens, we cover each piece with a thin painter’s plastic and, if necessary, also use the zipper poles and heavy duty plastic walls to allow accessibility and added perimeter protection.”
Mario also lets homeowners know they should remove artwork, bookshelves, or other items on any walls that may be impacted by vibrations caused by work in progress on either side.
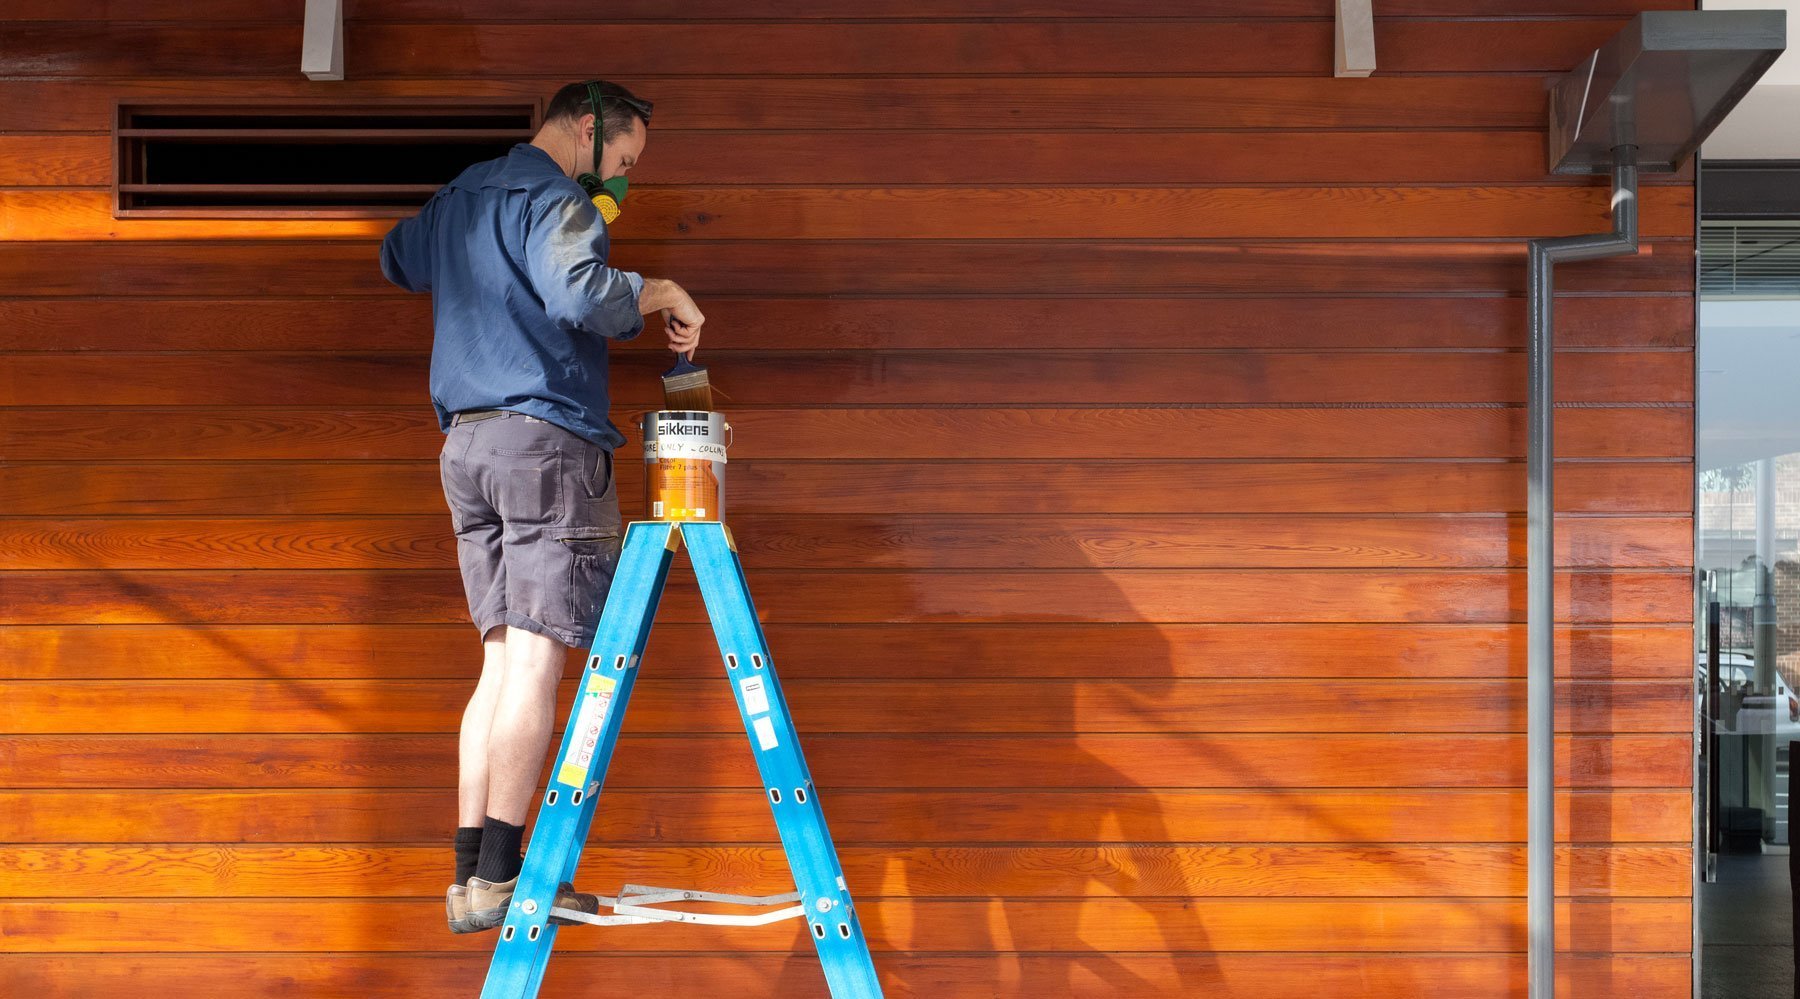
LANDSCAPING & EXTERIOR
When working on the exterior of a home, Harrell Design + Build subscribes to the same mantra of treating each of our client’s home with courtesy and respect. Though landscaping is more challenging to protect completely, the goal is to minimize the impact to lawns, bushes, and trees. Trees are surrounded with a barrier of 2X4s, temporary fencing, and caution tape while bushes will be pulled away from exterior walls during work. Lawns can be protected with plywood, which is often raised up on bricks or concrete pavers to allow airflow.
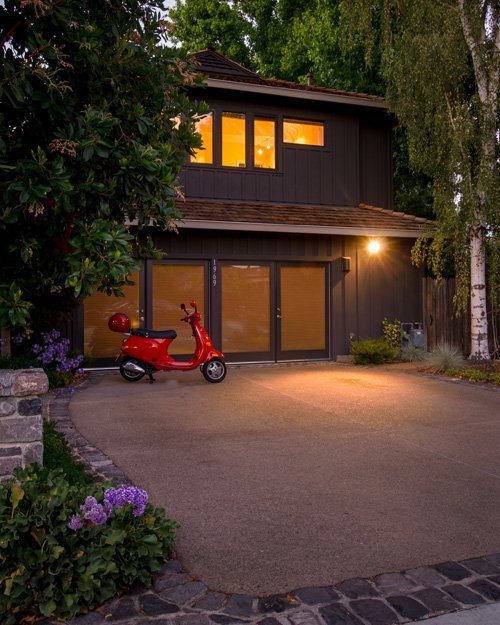
DRIVEWAYS
Since every driveway is unique, the onsite Harrell Team takes into account every aspect of the project that could result in damage over the duration of the job. Driveways can be fashioned from numerous materials including pavers, asphalt, stamped or brushed concrete. If the drive will be a high-traffic thoroughfare, including moving heavy or sharp materials to the actual project location, or if there is a possibility of spills, the location will be protected with a heavy-duty plastic topped by a layer of plywood or OSB sheets, secured together with metal clips.
If the drive will only be used as a walkway, a patterned orange liner is applied is the path of travel. The pattern designates the area of defined usage, ensuring cleanliness while avoiding damage.
Since most residential driveways are not able to withstand the weight of large vehicles or material loads, the on-site team will have any heavy materials delivered to the jobsite dropped off curbside. This avoids potentially cracking the driveway concrete slab, which can result in an expensive repair.
THE AIR
Undergoing a home remodel is dirty and dusty, adding extra particulate matter into the air. Though we do our best to cut wood, tile, and other materials outside, this isn’t always possible. To mitigate this, all tools are connected to a vacuum, which automatically switches on and off with the tool to collect dust. Hoods are used on saws to keep sawdust contained, and we always use HEPA filters to clean the air. Air scrubbers absorb and minimizing the spread of fine dust and particles, protecting both the homeowners and workers.
DAILY CLEAN UP
At the end of each workday, Mario shares that each onsite team sweeps, vacuums, and removes debris. Openings in walls and floors are covered, tools and materials are set aside and covered with plastic, leaving the work area as tidy and safe as possible.
“Protection is very important to me. I do it out of appreciation, safety, and respect of the homeowners as well as for the safety and health of my team and myself,” Mario says.
 Mario Rivera began working in the construction trade in 2002, beginning with basic framing. Fascinated by tools and building from a very young age, Mario was hired in 2014 as a carpenter for Harrell Design + Build, working his way to site manager thanks to his diligence, passion, and attention to detail. He firmly believes that the manner in which Harrell Design + Build treats their clients’ homes is just one way in which the company rises above the rest.
“When you’re choosing a contractor, it is really important to find out how they will safeguard your home and your safety,” Mario states.
Are you dreaming of a remodel? Schedule a consultation with one of our amazing Designers to discover how Harrell Design + Build can transform your home.


 Kai Jensen is a native of San Jose. His father was employed in the design field, so Kai grew up immersed in the design and construction industry. He has worked in construction for over 40 years and has vast experience in both commercial and residential projects. A skilled craftsman, Kai spent part of his career building custom kitchen and bath cabinets. Kai obtained his licensed general contractor in 1993 and at one time ran his own construction business doing all phases of work from foundation to finish before joining Harrell Design + Build in August 2001 as a Lead Carpenter. Kai is now one of Harrell’s Senior Project Managers and is a Certified Remodeling Project Manager.
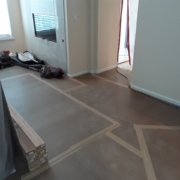


