13 Home Maintenance Tips for Spring
Winter is finally coming to a close. With warmer days ahead, spring is an ideal time to give your home some much-needed TLC after months of cold, wet weather.
One of the best things a homeowner can do is to do a visual inspection both inside and outside their home. Look for mold or mildew build-up on the exterior as well as inside your home, especially after a long rainy winter. Keep an eye open for condensation inside windows. Look for peeling paint, bent or damaged gutters, or any other signs that indicate needed repair.
1. HVAC
Spring is a great time to do some basic maintenance on your HVAC system. Swapping out your furnace filters is quick, easy, and inexpensive. It keeps your system operating efficiently and is one less thing you’ll have to worry about come next winter.
If you haven’t had your furnace serviced recently, schedule a maintenance visit now rather than waiting until you need the heat and discover your system is not functioning properly.
Just like with your furnace, your air conditioning unit needs a tune-up every few years and it is best to get this done in the off-season. That way, when the heat hits, you’re AC will be ready to cool.
Explains Harrell Design + Build Senior Project Manager Kai Jensen, “Most people only think about servicing their furnaces, AC units or roof when they encounter an issue. But the best (and cheapest) time to do this is during the off-season.”
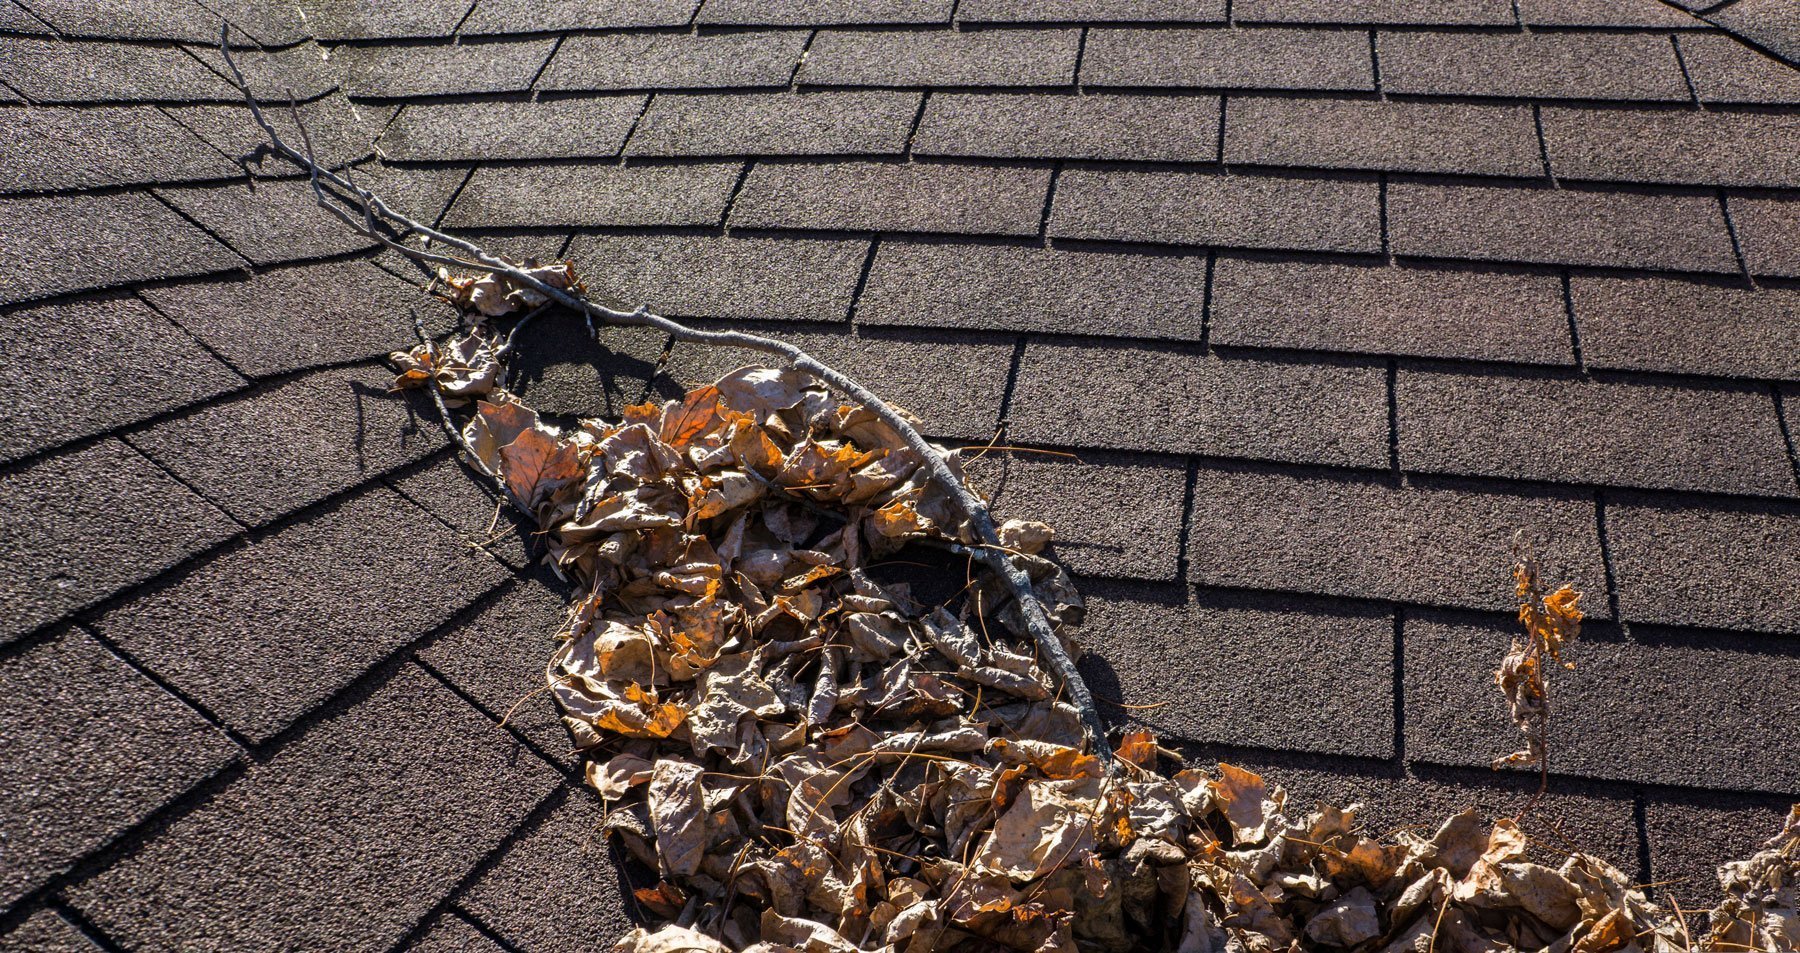
2. Roof, Gutters & Chimney
Your roof, gutters, and chimney also need some TLC. Blow leaves off your roof, especially in the valleys where they tend to pile up. If not removed, they build up and eventually cause damage to your roof. Now is also a great time to have your roof inspected as well as have repairs completed. Remove leaves and other debris from gutters and have any damaged sections or downspouts replaced or repaired.
If you haven’t had one in awhile, an inspection will ensure your chimney is structurally sound while a professional cleaning keeps dangerous debris from accumulating and possibly causing a fire.
3. Look for Cracks in Stucco
If you discover large cracks in the stucco on your home, fill with a flexible caulking or apply a stucco patch. This reduces the chance of moisture seeping behind and into the walls and causing dry rot.
4. Sprinklers
Turn on your sprinklers and redirect them if any are hitting the exterior of your home. Over time, having water hitting the outside of your house can can cause dry rot. Replace missing or damaged sprinkler heads and check for water leaks.

5. Septic Tanks
If your home is on septic, it typically needs to be cleaned out every four or five years. And if you don’t already, purchase some septic treatment products and begin using this monthly to break down grease, fats, and oils.
6. Windows & Exterior Doors/Locks
Open and close each of your windows to make sure they operate properly. If you have double paned windows, look for cloudiness between the panes, which indicates window failure. Look closely at caulking on both windows and doors and reapply if it is cracked or peeling. If the paint is fading on the exterior of your windows, take time to repaint.
Check all exterior door locks and make sure they operate smoothly. If you have trouble getting the key in the lock or if you have to coax the lock itself to open, call a locksmith and get them to tune up your affected locks and possibly cut new keys.
7. Smoke and Carbon Monoxide Detectors
Check all of the batteries in your smoke and carbon monoxide (CO) detectors. Make sure you have at least one CO detector on each level of your home. If you live in an all-electric home, carbon monoxide detectors are NOT required. If you have smoke detectors that are only battery operated, California law requires they include a 10-year battery that cannot be replaced or removed. Be sure to upgrade to these units if necessary.
8. Water Main
Locate your water main, remove the cover and look inside for leaks or water build up. Contact your local water company if you discover any issues.
9. Showers, Sinks, Toilet & Tubs
Check caulking around sinks as well as in showers where the tile meets the shower pan and around bathtubs where the wall tile connects with the tub. If the caulk is cracked, peeling, or pulling away, its time to reapply.
Check all drains for hair build up and remove using a tool made just for this fun job. This will reduce odor as well as allow water to drain properly.
Remove all of the aerators on your faucets, remove any debris and sediment, and reattach.
Turn on and off water valves for each sink and toilet to make sure they haven’t seized up and are operating as intended. Look under all sinks for leaks, check inside toilet tanks to ensure all parts appear in working order.
“To easily check toilets for leaks, place a few drops of food coloring in the tank. If the color shows up in the bowl, your toilet has a leak,” shares Kai. “I also recommend homeowners locate and check their main outside water valve, making sure it turns on and off. The same with hose bibs. Being outside, they can tighten up over time so it is important to check them every so often.”
10. Replace Light Bulbs
During winter, lighting is used much more than in spring and summer so bulbs often burn out. In the evening, go outside and inspect your outdoor lighting for bulbs that are broken or burned out. Do the same inside your home and replace all nonfunctioning bulbs.
11. Garage Door
Open and close your garage door a few times to confirm it operates smoothly. Check all of the bolts, especially those responsible for attaching the door to the hinge and spring hardware, and tighten if loose. If it’s been awhile since you had your door serviced, it’s probably time to do so.
12. Washers, Dryers, Dishwashers & Refrigerators
Inspect all hoses for your dishwasher (located under the sink) and clothes washer for cracks or damage that could result in leaks. Clean the vents in your dryer, both those inside as well as behind the appliance.
Explains Kai, “Dryer vents need to be cleaned two or three times a year to prevent lint build up, which can result in a fire.”
Check the seals on your fridge for cracks and vacuum behind your refrigerator to remove dust build-up from the back of the unit, which can reduce the efficiency as well as the life of your appliance.
13. Electrical Panel & GFCI Outlets
Flip each switch on your electrical panel. If any circuits don’t stay in their “on” position, this indicates a potential issue and it would be worth having your panel inspected.
GFCI outlets are typically placed in the kitchen and bath. Test each by pressing the button to reset the outlet. If any fail to work or reset properly, it’s time to replace them.
“Many older homes don’t have GFCI outlets in bathrooms and kitchens. These are important safety features and should be installed,” says Kai.
Maintaining your home can seem like an overwhelming task but the team at Harrell Design + Build is here to help. Our experts identify potential issues and point out areas that require maintenance. This proactive approach allows homeowners to actively participate in the maintenance and repair plan as well as address concerns before they become costly repairs.
Interested scheduling a spring maintenance inspection? Contact Harrell Design + Build to speak with one of our team members.
 Kai Jensen is a native of San Jose. His father was employed in the design field, so Kai grew up immersed in the design and construction industry. He has worked in construction for over 40 years and has vast experience in both commercial and residential projects. A skilled craftsman, Kai spent part of his career building custom kitchen and bath cabinets. Kai obtained his licensed general contractor in 1993 and at one time ran his own construction business doing all phases of work from foundation to finish before joining Harrell Design + Build in August 2001 as a Lead Carpenter. Kai is now one of Harrell’s Senior Project Managers and is a Certified Remodeling Project Manager.